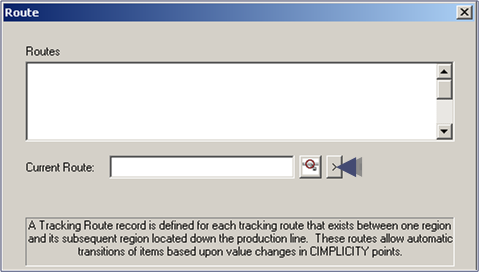
Step 4. Configure Routes
About this task
Tracking Model Wizard
Note: The Tracking Model Wizard facilitates setting up a Tracker project. You can also open the PRT Route Configuration dialog box by clicking Advanced> Routes in the TrackerCfg_UI left pane.
Important: Make sure you have configured at least two regions before you begin to configure routes.
Procedure
-
Click
 to the right of the Current Route field in the Wizard's Route dialog box.

- Select New.